how i make my sourdough bread (& starter)
in my dream life…i live on a few acres with my gaggle of kiddos, a dairy cow, a big garden, & a fresh loaf of sourdough always coming out of the oven. i’m not there yet… but i’ve got the sourdough part down lol
it’s said that sourdough was created from a happy accident - bread dough was left out long enough for good microorganisms to find it, & that resulted in a lighter textured & better tasting loaf. when you make traditional bread, you typically add active dry yeast to make it rise—however sourdough rises from the wild yeast…the fermented flour + water. the ‘wild yeast’ makes sourdough bread easier for your gut to digest than most breads, promotes good bacteria, has no preservatives, & people with gluten sensitivities typically find it much easier to digest!
i’ve been making sourdough for a few years now. i’m still learning soooo much as i go, but as with anything, i love to share my process & learn alongside you guys! i’m always tweaking my methods & trying new things, but since it seems like so many of you want to learn too, i wanted to take a minute & share what i’ve learned so far! scroll down for how to get started, the recipe i use, & all my bread making essentials.
SOURDOUGH STARTER RECIPE
to make bread, there’s really only four necessary ingredients - flour, water, salt, & yeast. like i mentioned - the cool thing about sourdough is that you use ‘wild yeast’, aka sourdough starter! starter is simply a fermented flour & water mix. there’s a few different ways to get started with starter, but i’ll share them alllll so you can pick the best one for you.

option one
get a little jar of it from a friend! this is the besttt option in my opinion - starter actually gets ‘stronger’ the longer you use it, aka it makes a fluffier loaf with more air inside (which makes those pretty holes inside the loaf!). some people have starter that has been in their family for a century! beginning with a starter that’s already strong will help your loaves look amazing from day one (plus, it’s less work for you, & so fun to share)!
Option two
buy dehydrated sourdough starter, like ‘Willa’ from ballerina farm. hannah from ballerina farm dehydrates & sells her starter, from the starter she bakes bread with every day for her family of 9. it only takes a few days to revive, so it’s def an easy button if you don’t want to start from scratch, & you get the same benefits of beginning with an already mature starter.
option three
make your own starter from scratch! it’s literally just flour, water, & a bunch of patience. here’s a basic recipe:
day one
in a wide mouth jar (i love my weck jars for this!), mix 50g all-purpose flour & 50g warm water until thoroughly combined
cover jar with a cloth or lid (but not too tightly - make sure some air can still get in!) & leave in a warm spot for 24 hours (in the turned-off oven with the oven light on is a perfect spot, at least for a few hours - it might get too toasty in there after a while!)
day two
after 24 hours, discard about half of your starter mix, then add another 50g all-purpose flour & 50g warm water. mix well, cover, & leave in a warm spot for another 24 hours
days three - six
continue the same process as day two, discarding half of your starter, adding another 50g flour & 50g water each day. you should start to see bubbles form on the top & throughout the mix, & it should start to rise & fall each day as well! i loop a rubber band around my jar to measure my starters’ growth as it rises each day.
day seven
at this point, your starter might be ready to use! if it is, there will be tons of bubbles throughout, the texture will be light & spongy, & it should smell sweet & slightly sour (but in a good way!). if it smells bad, too sour, or like nothing, it’s likely not ready!). if it’s not there yet, that’s totally okay - keep feeding it daily until it’s ready to use :)
once you have a mature starter, you need to keep feeding it to keep it healthy! generally you’ll either leave it on your counter/in a warm-ish place & feed it 1-2x a day, or leave it in the refrigerator (this helps it stay dormant) & feed it closer to once per week. if you choose the fridge option (best if you’re not planning on baking bread every day!), you’ll want to feed it & leave it on the counter for a day or two before baking to help it revive again.
to make sure your starter is active & ready to be used, add a bloop to a bowl of water & see if it floats. if it does, you’re good to go!


BREAD RECIPE
from ballerina farm
i’ve tried a few different recipes for a basic loaf, & so far this is one my FAVORITE! just a note, make sure you time this correctly so you’re not up at all hours of the night shaping dough - i love to start this process in the morning & have a loaf done in time for dinner. overall it generally takes around 7-8 hours start to finish!
mix 250 g starter with 750 g water
add in 1000 g flour (i use all-purpose, but you can do mix with whole wheat!). mix by hand for 3 minutes, cover & let sit for 1.5-2 hours
pinch in 25 g salt. stretch & fold for 3 minutes. cover & let sit for another 2 hours
put dough on counter & divide in half. pull dough into a thin layer & then fold over the sides & roll up. shape it into a ball! do the same again for the second loaf
let your shaped loaves rest on the counter for 20 minutes uncovered. reshape again!
put the loaves in proofing baskets & cover with plastic (shower caps work great!). let proof in the fridge for 2 hours
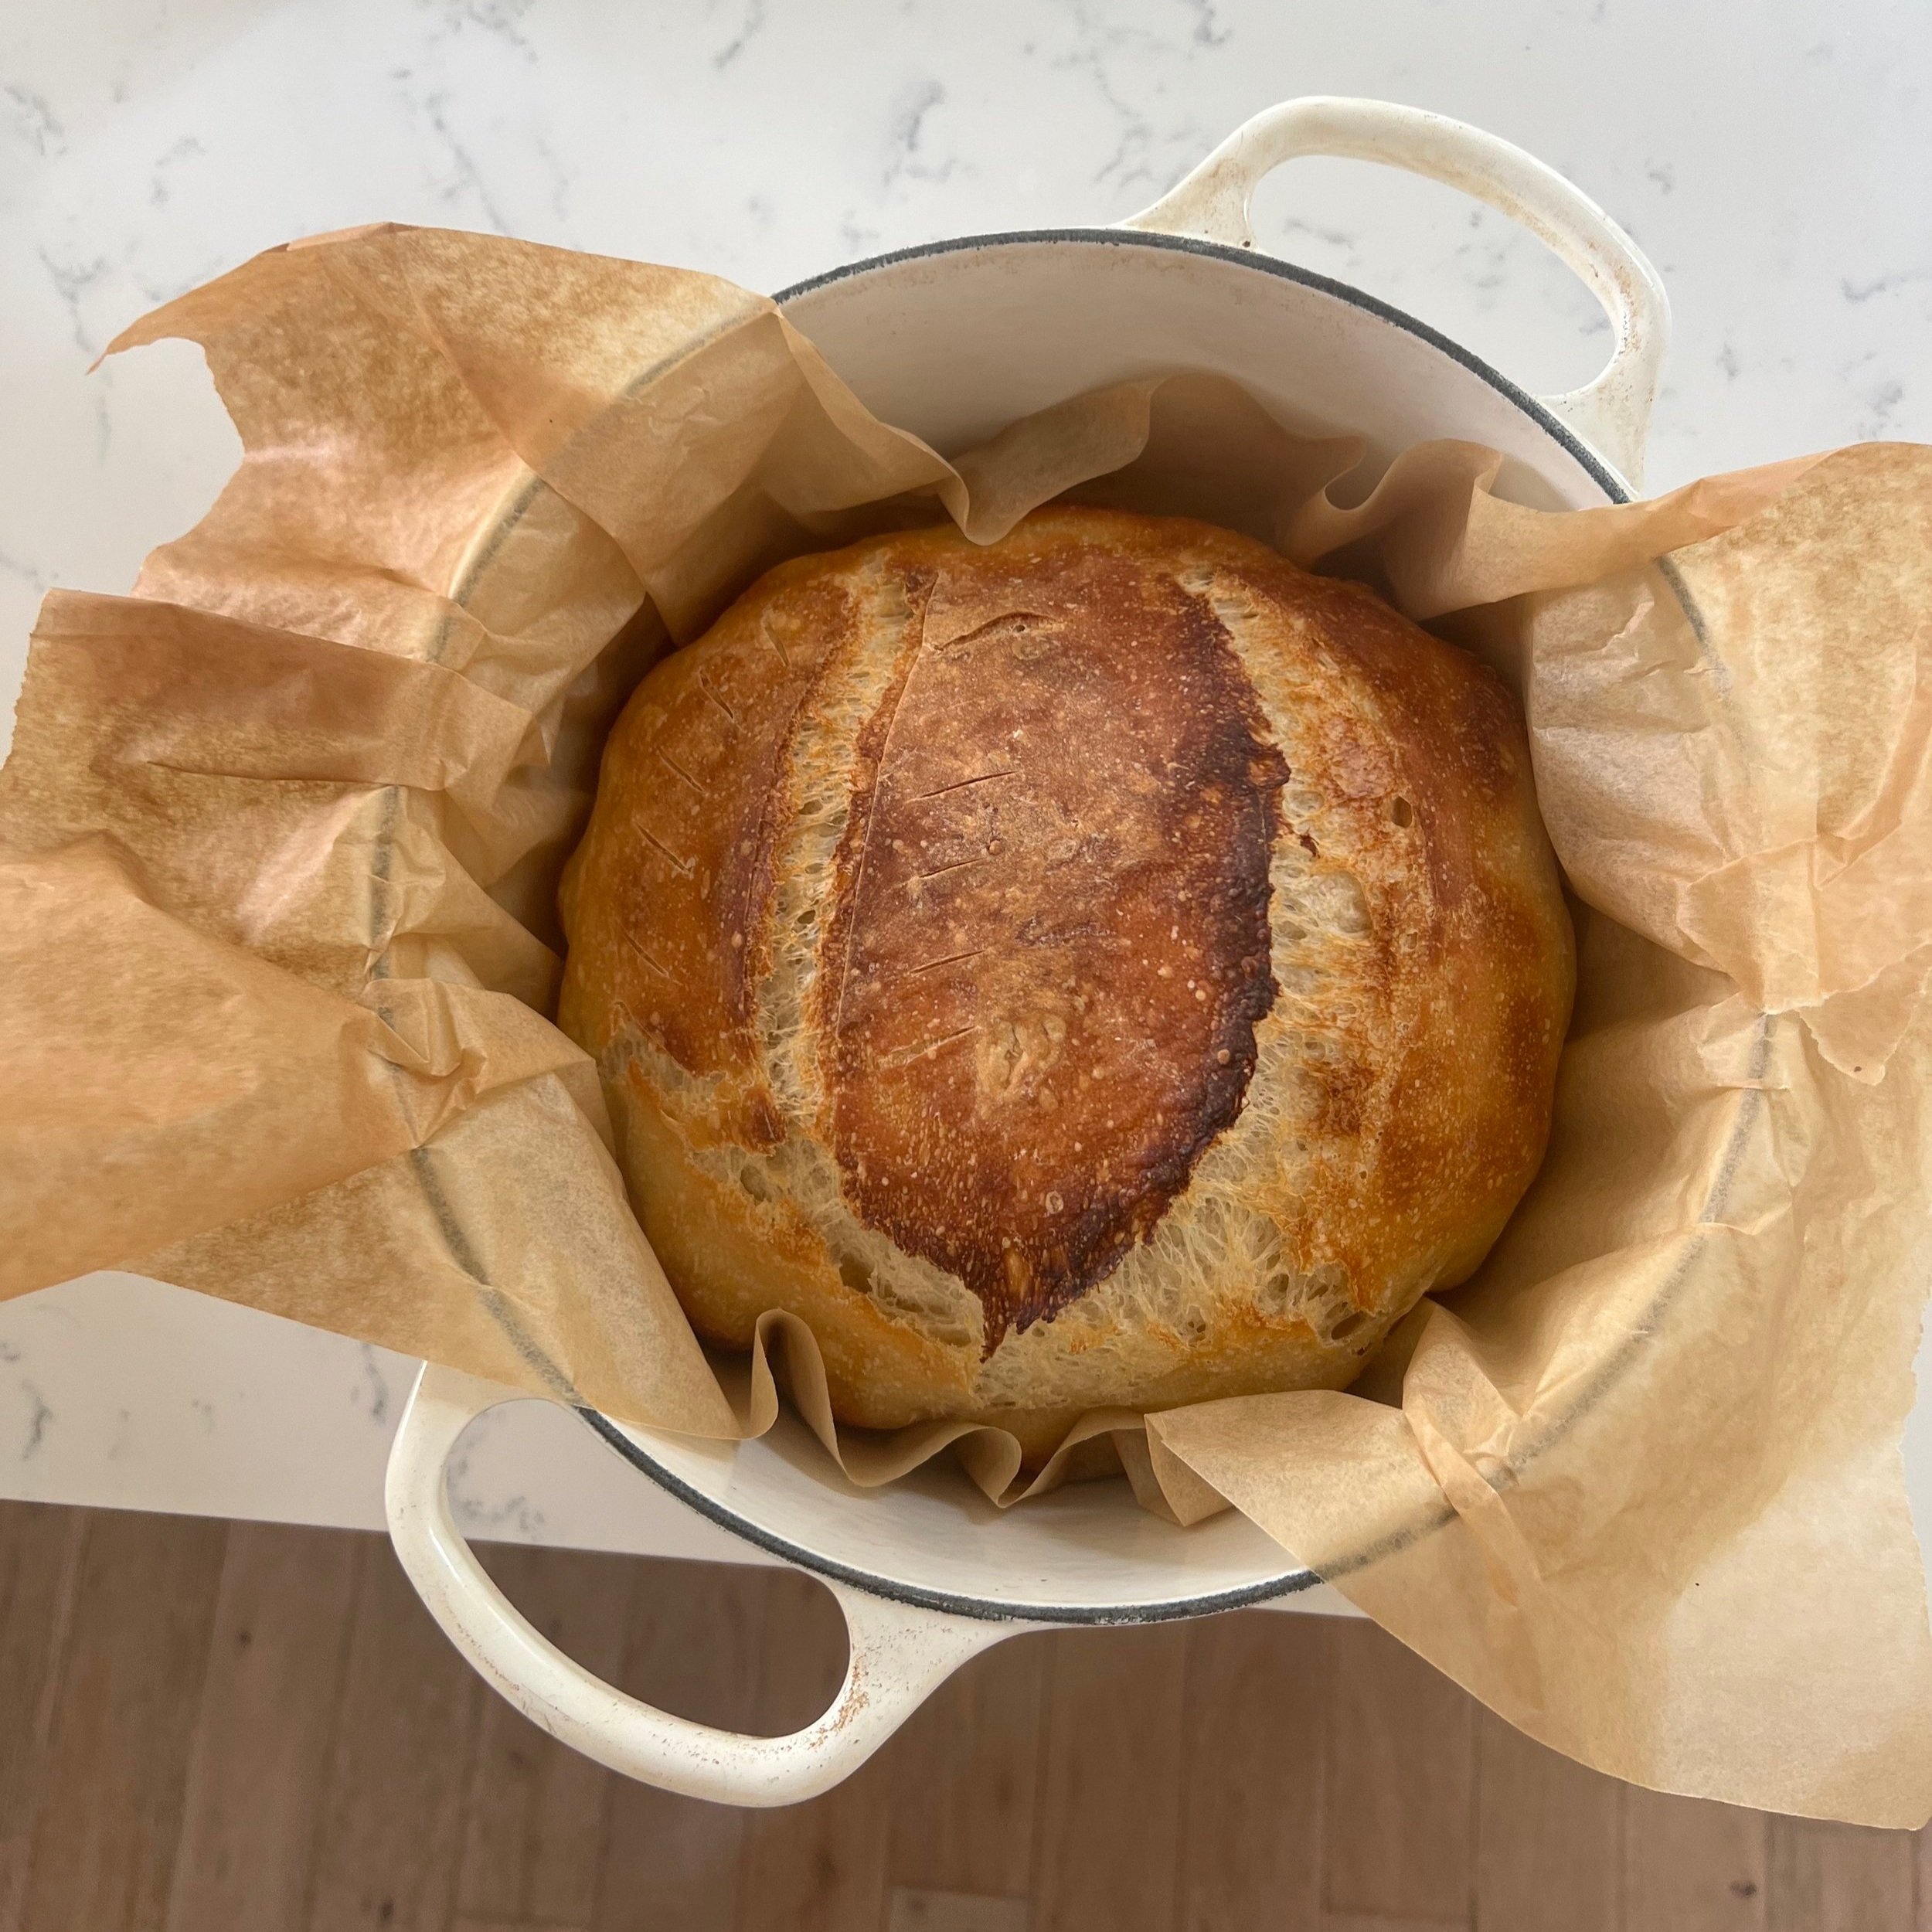
preheat your dutch oven in the oven at 450. bake bread with lid on for 25 min. remove the lid & put it back in for 5-10 minutes
serve with a slab of butter, a drizzle of honey, & a sprinkle of flaky salt
you can also flavor your bread! think fresh herbs (rosemary, thyme, basil, oregano, etc!), shredded cheese (parmesan is alwayssss a good choice), nuts & seeds, honey, & the list goes on. you’ll want to add these at the same time as the salt, so they can be mixed in during the stretch & fold.
there are so many other recipes on the internet & in cookbooks - if one recipe isn’t quite working for you, i’d highly recommend testing out a few others! you can even start combining techniques & seeing what fits. part of what makes sourdough so fun is that there’s no one “right” way to make it - there’s so much freedom to experiment!
Equipment
here’s all the tools i use to make my bread - but honestly, remember sourdough has been around for wayyyy longer than we’ve had weck jars ;) these are all beautiful & useful, but if you’re just starting out, you don’t need to buy a bunch of new equipment - use what you have on hand, & collect treasures over time!

happy baking!