before & after haus tour


we bought our house on Olive Street 4 years ago. funny story - it was the only house we looked at before putting an offer in!
normallll people search for weeks or months to find what they’re looking for, but not us lol we walked in, saw the potential, & that was that! before we moved in we painted everyyyyything white. the rest of the updates & renovations were spread out over the following years. mostly sparked when i would get the urge for change! we did everything ourselves (with the help of amazing friends!) this home was so important to us. if these walls could talk, ohhhh the stories they would tell. stories that are good, bad, beautiful, hilarious, redemptive. these walls hold the stories of the hardest season of marriage, which led to the best season yet. i thought i would be sadder to leave it (we just moved into a new home just 5 min away!) but honestly, it felt like a sweet closing of a chapter. a tad bittersweet, but more sweet than bitter. we both just feel so grateful for the life that happened there & equally as excited for what’s ahead.
so today, i am so excited to do a haus tour & share our before & afters with you! let’s get right into it.
here was the eating area when we moved in - creamsicle walls, big ole ceiling fan, & a lot of unused space. the way the house is laid out, this area becomes a focal point of the house so i wanted to make it cozy, practical, & bright.
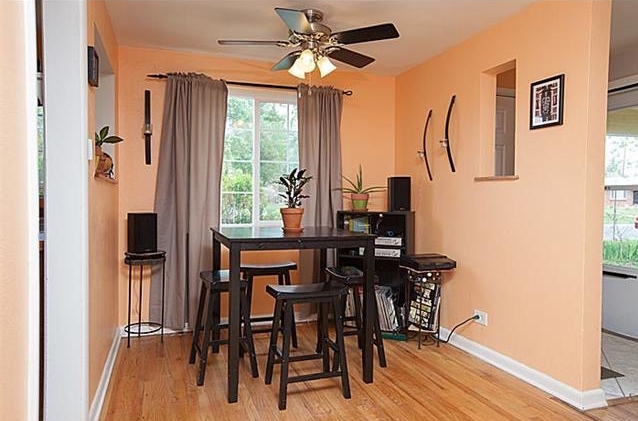


a few details about the nook:
- the bench seating is all plywood! built into the wall.
- the table was an IKEA refresh. we took the original tabletop off & replaced it with a lighter wood, to match the benches. for simplicity + budget sake, we kept the frame! i love the two-tone vibe.
- cushions are IKEA outdoor chair cushions, covered with drop cloths AKA cheap linen ;)
- the large pillows are from IKEA, the smaller ones are from TJ Maxx & Once Was Lost
i did a full blog post on the DIY nook here: http://www.abigailmarygreen.com/blog/diy-cozy-nook
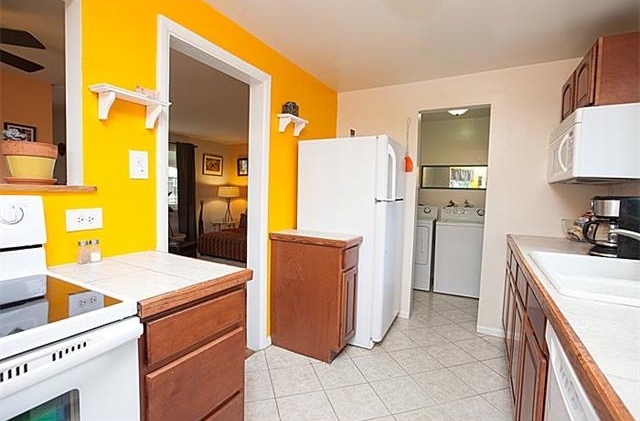
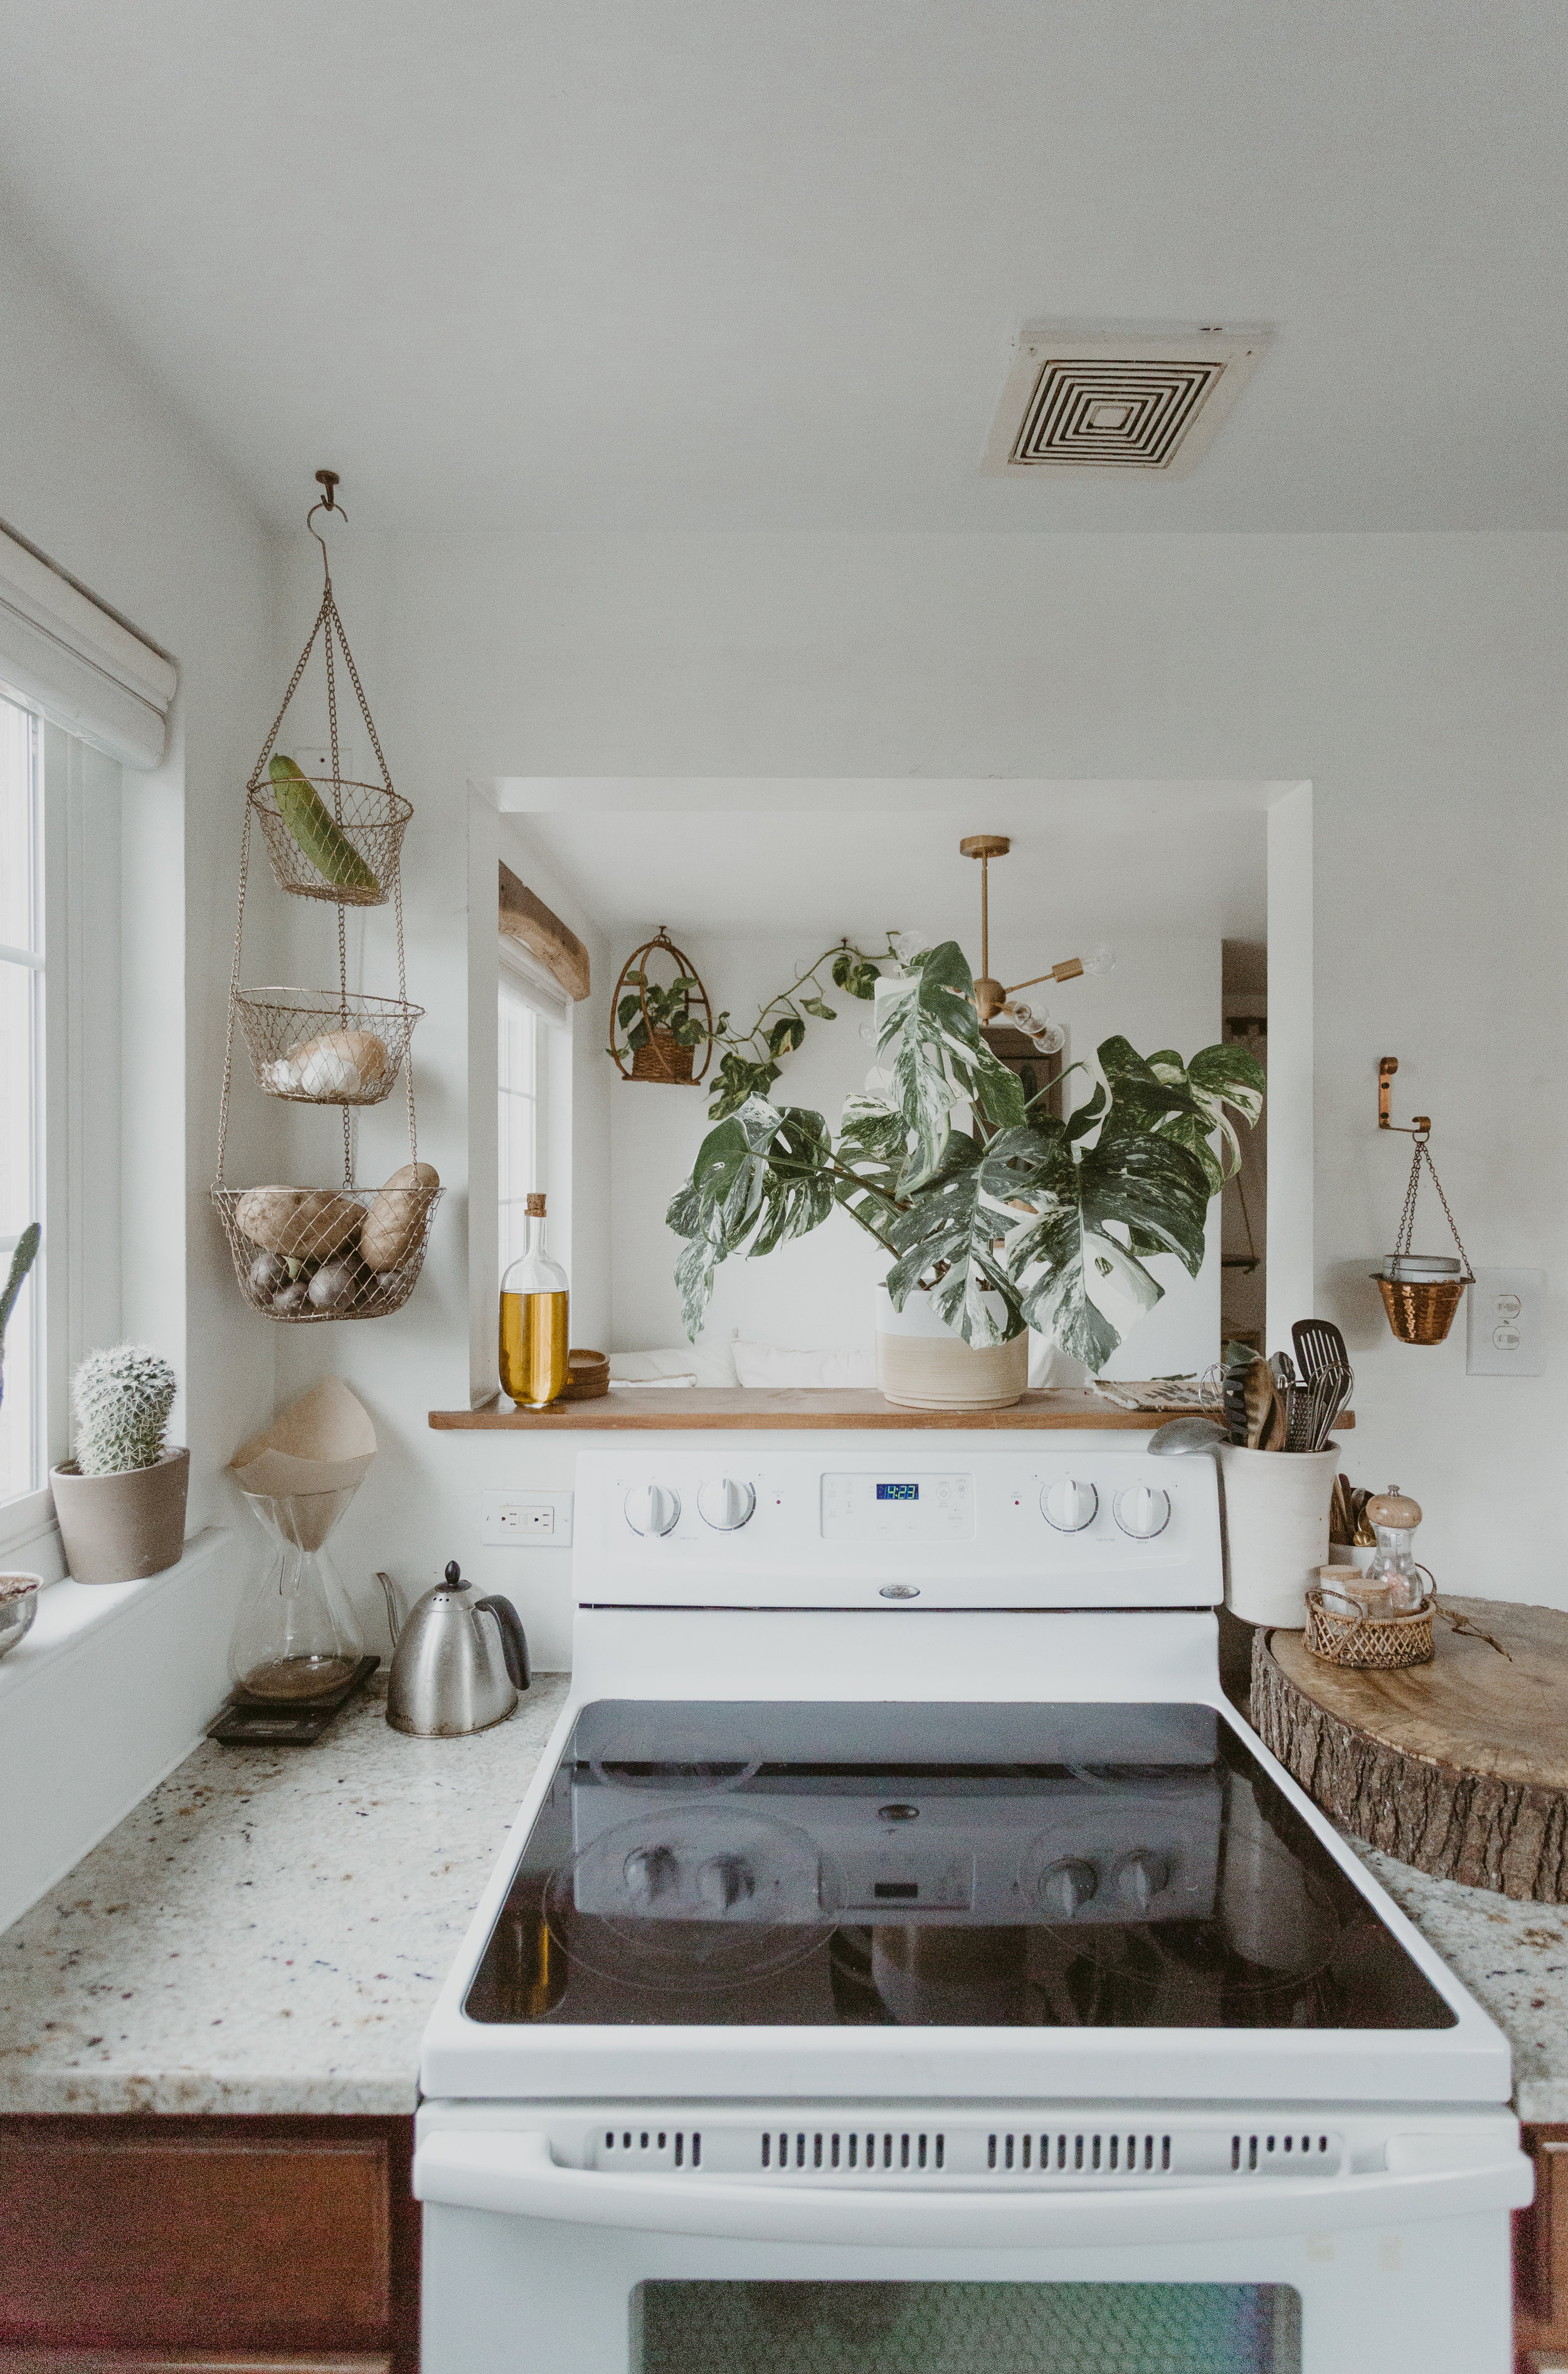
okayyyy ready for the kitchen?! probably the biggest transformation of all!
we changed the tile, countertops, backsplash & paint!


okay next up is the bedrooms!


i never knew i could love a bathroom so much until this house, haha! that window right there is south-facing so the tiny bathroom flooded with natural light all. day. long. the best!
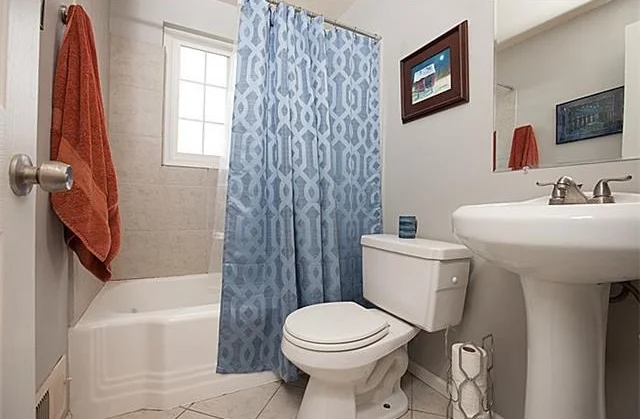


swapped out the floor + shower tiling
added a vintage mirror that i thrifted
changed out the light sconce
made our own copper shower curtain rod. click here for the DIY tutorial!
& last but not least…added LOTSA plants to make it into a jungle shower!
anybody who stayed with us would always say “i can’t wait to use your magical shower!”
here’s a few more tips on how to affordably spruce up your bathroom!
movin’ on to the living room—we repainted, added shelves, & curtains, but honestly we kept this space pretty minimal + open. i like the look of it but also, we have a great dane so functionally, we wanted him to have some space to move around since the rest of the house were pretty tight quarters/hallways.


all of the blinds are from blinds.com! the curtains are sheer white curtains with leather tabs added to them.
here’s the tutorial, along with a few others!
+ DIY leather curtain tabs tutorial
+ blinds tutorial
+ cozy outdoor curtains


SOURCES:
kitchen light / bedroom lights / hallway light / nook light
nook cushions / nook pillows / address #s / bamboo clothes rack / linen bedding
(images of me & kyle were taken by the amazingggg emiley of emiley creates!